Schedule Move-In (Generating a Lease)
Schedule Move-In (Generating a Lease)
- Select Leasing on the left sidebar
- Click on Applications, or click Screening if you are using screening services
Click on the Application you would like to Schedule a Move-in for
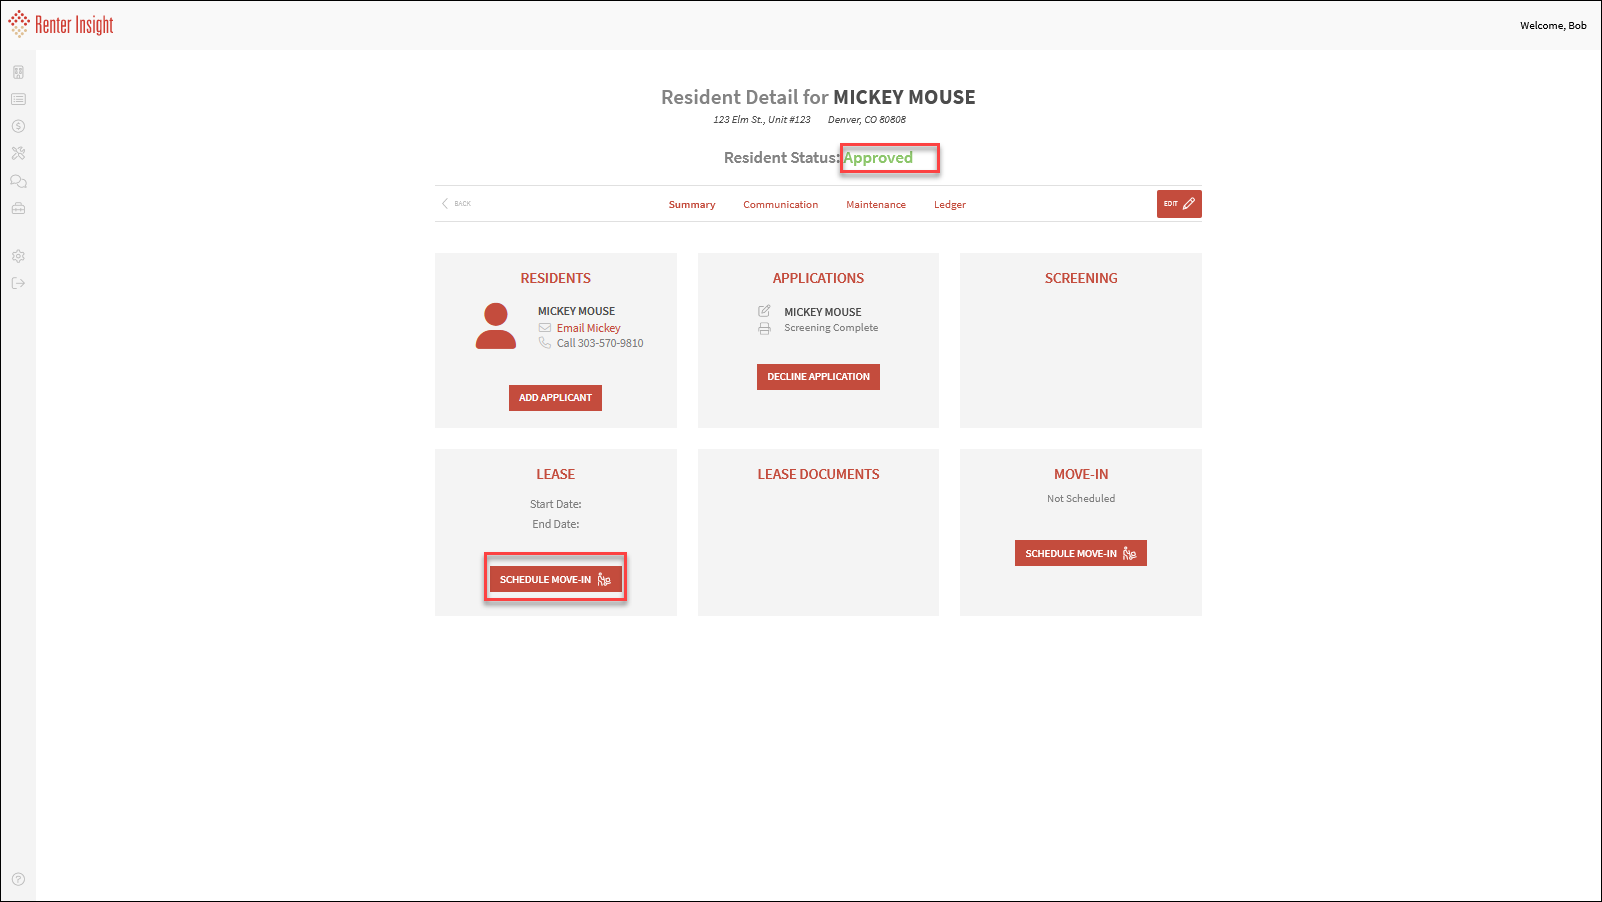
Under Lease, select Schedule Move-In
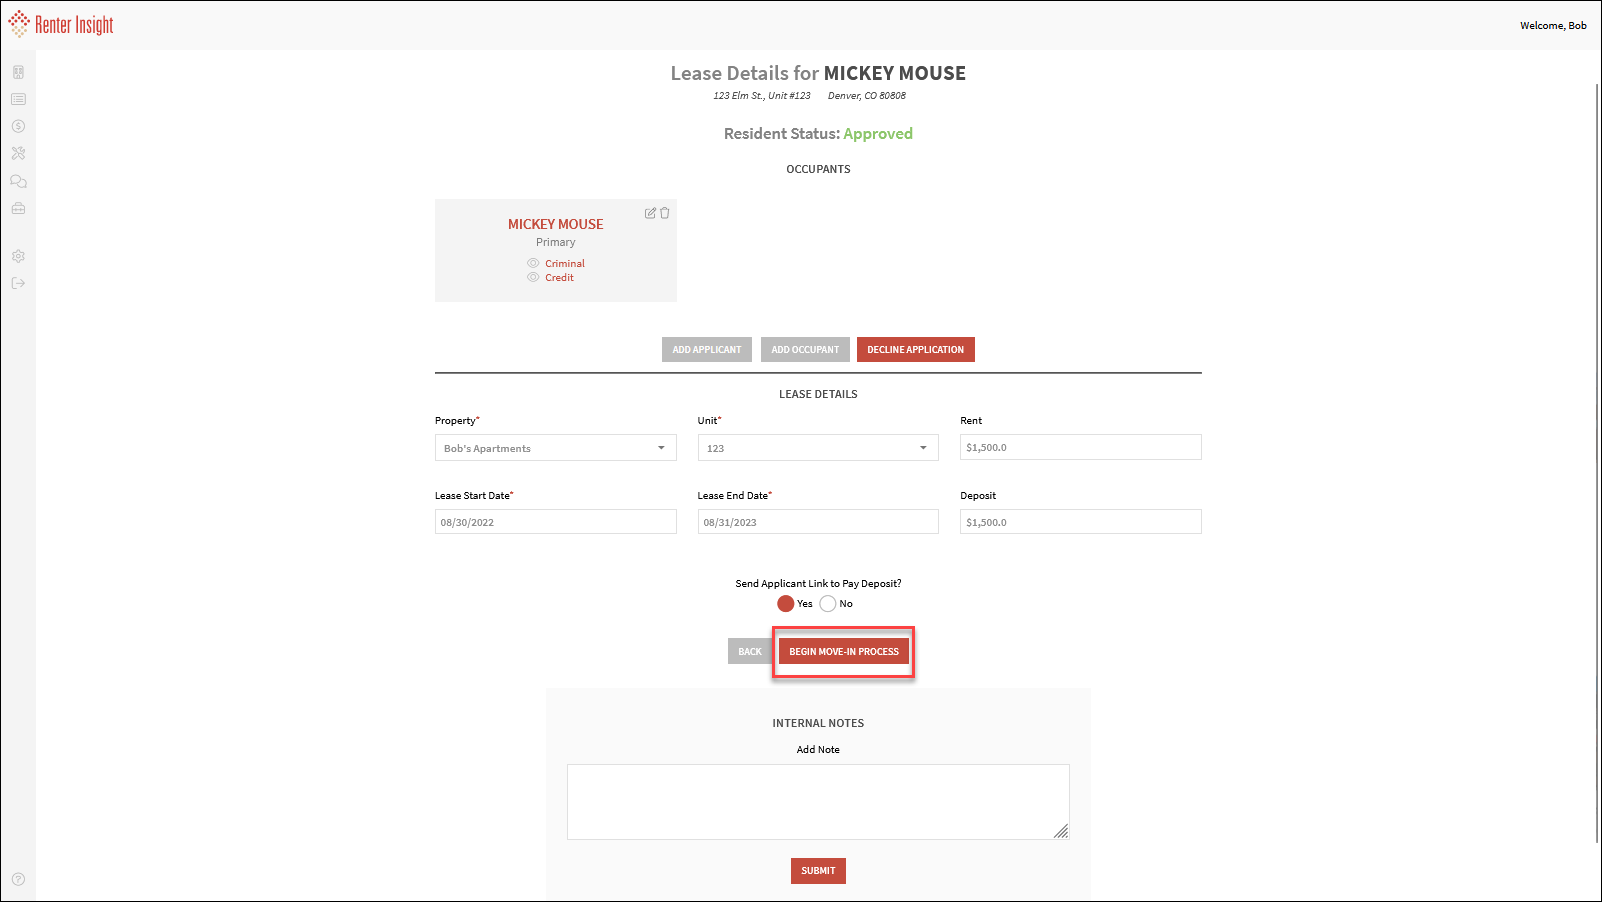
Enter Unit, Rent & Lease Details and click Begin Move-In Process.
You can also add additional Applicants and Occupants. If you add an additional
Applicant, the applicant will receive an email to complete their application and it will be
added to the primary application
Internal Notes are only visible to you and will be saved for your future use in Lease Details
You can now enter additional one time or monthly resident charges
- Note: Rent and Charges will be Prorated based on how you set proration under Settings>Payments>Prorate
- Send resident Payment Link & Welcome Letter
- If selected, your future residents will be sent an email and text a welcome letter with a link to pay any amounts due
Click Process Move-In when you are finished
- The Resident Status is now updated to Future. Resident Status will auto update to current once the lease begins
- You have up to 30 days after the Lease Start Date to Cancel the Move-In and refund any applicable payments